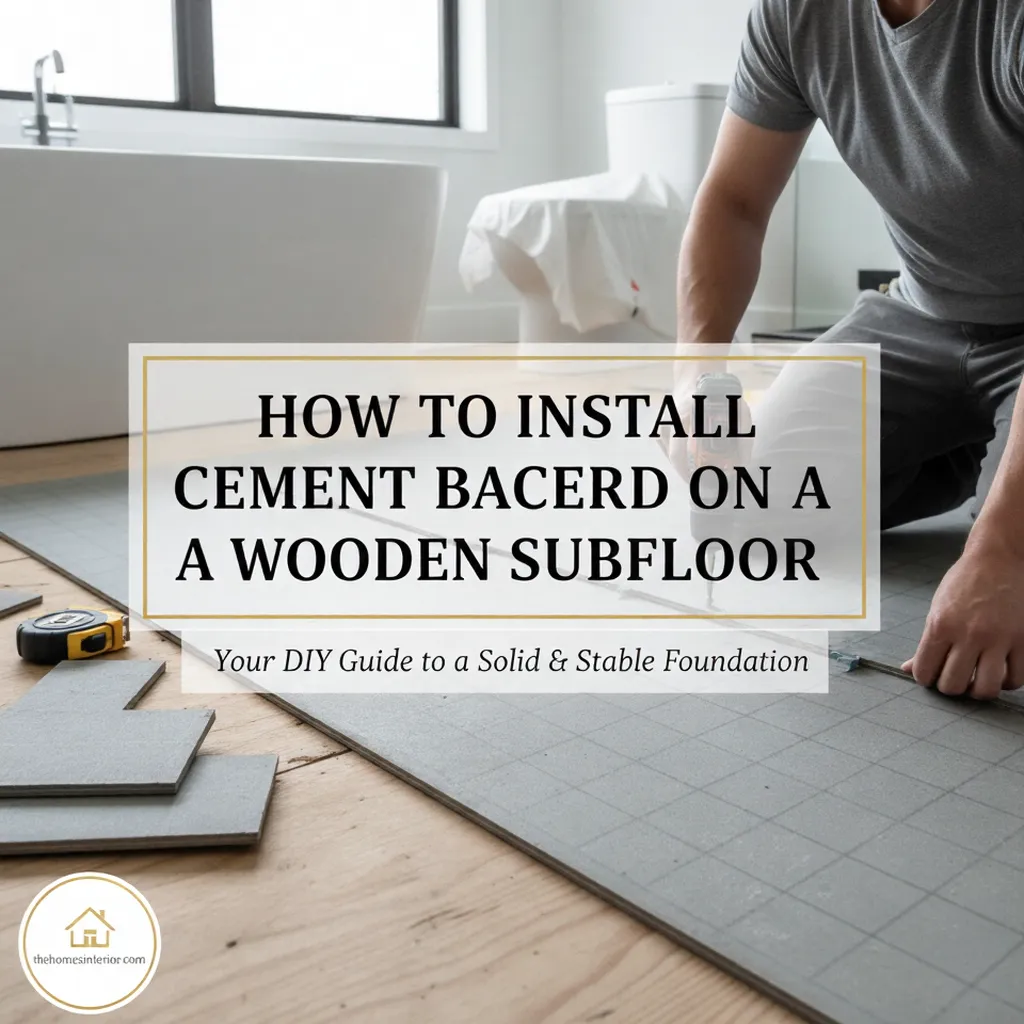
If you’re wondering how to start installing cement backer board on a wooden subfloor, here’s the quick answer: secure the wooden subfloor, spread polymer-modified thin-set mortar, lay the cement backer board panels, and fasten them with cement board screws before taping and sealing the seams. This simple but essential process creates a stable, moisture-resistant base that prevents cracked tiles, loose grout, or long-term floor failure.
There’s something deeply satisfying about a perfectly tiled floor smooth, level, and built to last. But what most homeowners never see is the hero underneath: the cement backer board. In my years of renovation work, cracked tiles or shifting grout almost always trace back to one issue the base wasn’t properly prepared. Installing cement backer board on a wooden subfloor stops that problem before it starts, giving your tile installation the strength and stability it needs to stay beautiful for decades.
Why Cement Backer Board Matters
Cement backer board acts as a crucial buffer between your tile and the wood beneath. Wood moves expanding and contracting with temperature and humidity. Cement backer board doesn’t. This dimensional stability protects your tile from cracking or lifting.
It also provides moisture resistance, a must-have in bathrooms, kitchens, laundry rooms, or anywhere spills and humidity are part of daily life. Even the best tiles, thin-set, or grout can fail if you skip this step. With properly installed backer board, you create a solid, water-resistant foundation that supports both tile adhesion and long-term durability.
Tools & Materials You’ll Need
Before installing cement backer board on a wooden subfloor, gather the essentials:
- Cement backer board panels
- Polymer-modified thin-set mortar
- Notched trowel
- Cement board screws
- Drill or screw gun
- Utility knife or scoring tool
- Tape measure & straightedge
- Fiberglass mesh tape
Having these ready ensures a smooth, uninterrupted workflow and a secure installation.
Preparing the Wooden Subfloor
Start by inspecting the condition of your wood subfloor. For installing cement backer board on a wooden subfloor, stability is everything.
- Tighten loose boards
- Eliminate squeaks
- Sand down high spots
- Fill low spots if necessary
- Vacuum thoroughly
Your subfloor must be clean, dry, structurally sound, and completely free of movement.
Moisture control is equally important. In humid spaces, ensure proper ventilation and consider sealing the subfloor. The stronger and more stable your base, the longer your tile installation will last.
Installing Cement Backer Board on a Wooden Subfloor: Step-by-Step Guide
Once your subfloor is stable and prepped, it’s time to begin installing cement backer board on a wooden subfloor. These steps create the strong, moisture-resistant base your tiles need for long-term performance.
1. Apply a Thin Layer of Mortar
Start by spreading a uniform layer of polymer-modified thin-set mortar over the wood subfloor using a notched trowel. This isn’t optional the mortar fills tiny imperfections and creates a solid bonding bed, ensuring the cement backer board sits firmly and evenly across the entire surface.
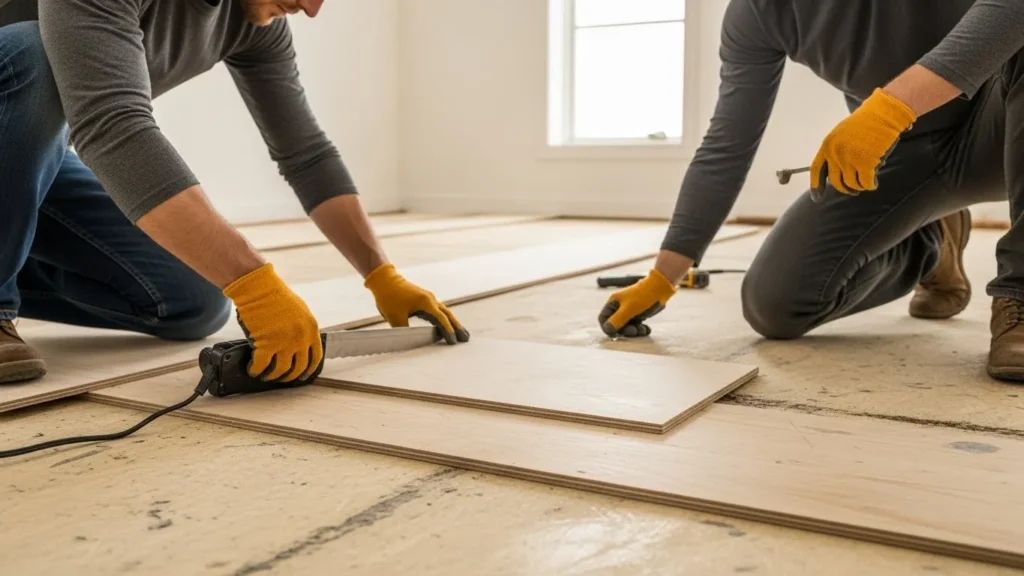
2. Lay the Cement Backer Board
Place the cement backer board panels onto the wet mortar immediately. Leave a 1/8-inch gap between each sheet for expansion.
For best results when installing cement backer board on a wooden subfloor, always:
- Stagger seams so they don’t line up with the wood subfloor seams
- Lay panels in the same direction as your tile pattern for easier installation
This prevents tile cracks and ensures structural stability.
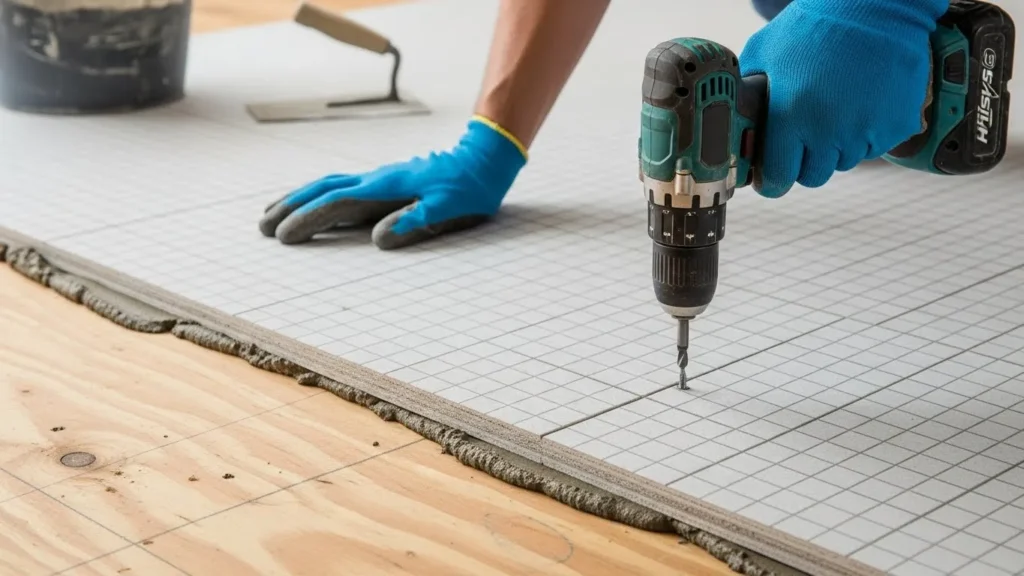
3. Secure the Panels
Use cement board screws (not drywall screws) spaced about 8 inches apart across the surface and around the perimeter.
Drive the screws so the heads sit slightly below the board’s surface without breaking through the material. Proper fastening prevents flexing, which is essential for long-term tile durability.
4. Tape and Seal the Joints
Cover every seam with alkali-resistant fiberglass mesh tape.
Spread a thin layer of thin-set mortar over the taped joints, smoothing it flush with the board surface.
This step locks the panels together and stops cracks from transferring through to your tile later, a key reason installing cement backer board on a wooden subfloor works so effectively.
5. Let It Set
Allow the mortar and backer board to cure for at least 24 hours before walking or tiling on the surface.
This curing time strengthens the bond, creating a rock-solid, level foundation ready for tile installation.
Common Mistakes to Avoid
Even experienced DIYers sometimes skip steps that later compromise their results. Avoid these pitfalls:
- Skipping the mortar layer: It’s tempting to screw the board directly onto the wood, but without mortar, voids can cause flexing.
- Using drywall screws: These corrode quickly and don’t hold properly. Always use cement board screws.
- Tight seams: Leave a small gap between boards to allow for minimal expansion and prevent cracking.
Best Practices for Long-Term Durability
Tile floors last for decades when installed correctly. Follow these extra steps for maximum performance:
- Keep the subfloor dry during installation.
- Always stagger board joints.
- Double-check that the floor is perfectly level before laying tile.
- Use a moisture barrier beneath if installing over plywood in damp spaces.
Applying these small details ensures your project not only looks professional but performs like one.
The Role of Subfloor in Bathroom Design
Bathrooms are notorious for water exposure, making a strong subfloor system essential. In these spaces, even a tiny leak can cause damage beneath the tile layer. By properly installing a backer board, you prevent water from seeping into the wooden base, protecting your floor structure and maintaining hygiene.
A properly prepared subfloor in a bathroom also minimizes mold growth, keeping your bathroom safe and long-lasting.
Frequently Asked Questions
1. Can I install cement backer boards directly over old tiles?
No. Backer board should be installed over a solid, clean surface. Remove old tiles first to ensure proper adhesion and stability.
2. Do I need to waterproof cement backer board before tiling?
While the cement board resists moisture, it’s not waterproof. Apply a waterproofing membrane if you’re working in wet areas like shower floors or walls.
3. How thick should the cement backer board be?
Most installations use a 1/4-inch thickness for floors, which strikes a balance between strength and height. However, 1/2-inch boards are used where added rigidity is needed.
4. Can I use cement board for wall installations, too?
Absolutely. It’s ideal for tile-ready walls, particularly in showers or backsplashes, where moisture resistance is crucial.
Build Confidence Beneath Every Tile
Installing cement backer boards might not be glamorous, but it’s the backbone of every lasting tile project. By ensuring your base is sturdy, level, and moisture-resistant, you’re investing in the longevity of your floor’s beauty. Whether you’re revamping your kitchen, bathroom, or entryway, take pride in every layer of craftsmanship.
When your next project begins, remember: strong foundations create lasting impressions. What space in your home do you plan to transform next?