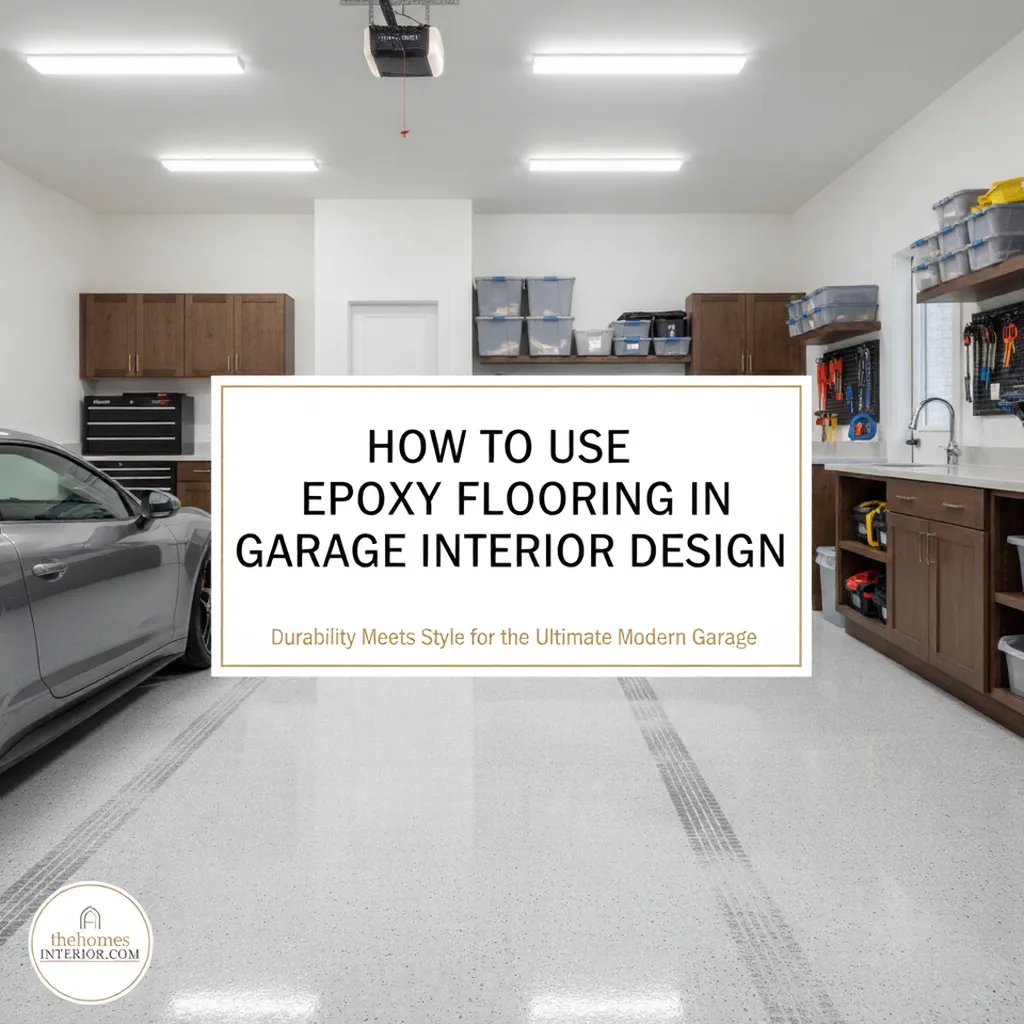
Imagine walking into your garage and instantly noticing the difference smooth, glossy floors that reflect light, resist stains, and make the entire space feel intentional and finished. If you’re wondering how to use epoxy flooring in garage interior design, here’s the quick answer: apply a durable epoxy coating to create a seamless, high-performance surface that enhances both the look and functionality of your garage. It’s one of the simplest upgrades with the biggest visual payoff.
Most people imagine garages as dusty, unfinished spaces with concrete slabs and scattered tools. But epoxy flooring changes that entirely. After decades of watching garage makeovers come to life, I can confidently say this: upgrading the floor transforms the whole environment. It’s not just an aesthetic improvement, it’s a design choice that brightens the room, increases durability, reduces maintenance, and turns your garage into a polished extension of your home. Whether you’re aiming for a workshop vibe, a showroom feel, or a clean modern interior, epoxy flooring sets the foundation for a truly elevated garage design.
Why Epoxy Flooring Deserves a Place in Your Garage
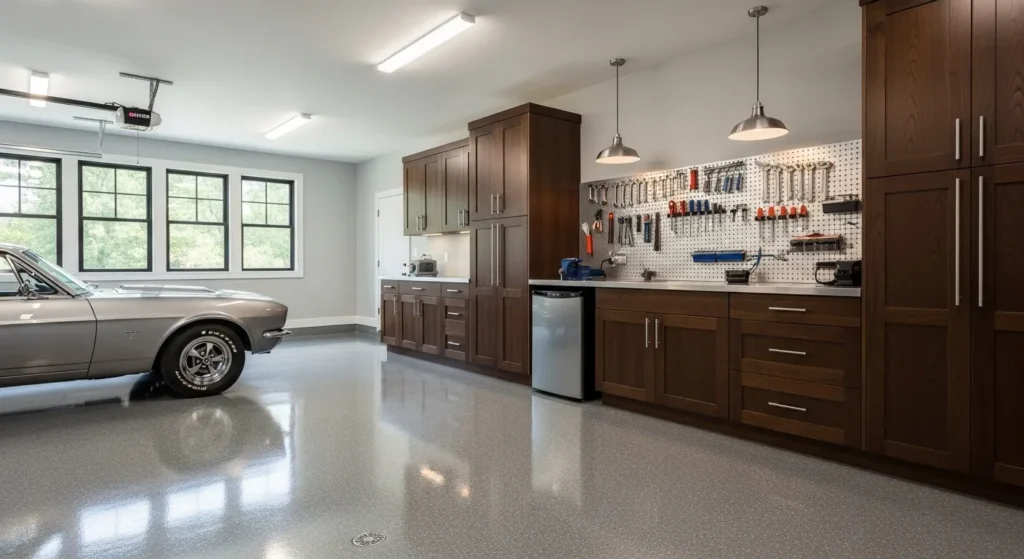
If you’re exploring how to use epoxy flooring in garage interior design, it starts with understanding why epoxy is such a powerful upgrade. Epoxy flooring is a resin-based coating that bonds directly to concrete, creating a hard, protective surface that outperforms traditional concrete in every way. Unlike bare slabs, epoxy resists oil leaks, chemical spills, salt damage, moisture, and hot tire marks—issues that quickly deteriorate normal flooring.
What makes epoxy truly exceptional is its ability to blend durability with modern design. It’s tough enough to handle heavy vehicles, power tools, and gym equipment, yet stylish enough to elevate the entire look of your garage. With finishes ranging from matte to high-gloss metallic, epoxy flooring helps you design a garage that feels intentional, polished, and cohesive. Whether you want a workshop, a home gym, a show-worthy car space, or an organized storage zone, epoxy flooring is the foundation that brings your garage interior design together.
Tools & Materials You’ll Need
Before you begin applying epoxy or planning how to use epoxy flooring in garage interior design, make sure you have the right tools on hand. The right materials ensure a smooth, durable finish that lasts for years.
Essential Supplies:
- Epoxy resin and hardener (two-part kit)
The core components that create the epoxy coating. - Concrete cleaner or degreaser
Removes oils, dirt, and contaminants that prevent proper adhesion. - Etching solution or acid wash
Opens the concrete pores so the epoxy bonds effectively. - Paint roller and extension pole
Ensures smooth, even application across the entire garage floor. - Plastic mixing pail and stir stick
For properly blending the epoxy resin and hardener. - Protective gear (gloves, goggles, mask)
Safety is crucial when working with epoxy fumes and chemicals.
Benefits of Epoxy Flooring in Garage Interior Design
When you’re learning how to use epoxy flooring in garage interior design, it helps to understand why this material has become the go-to choice for modern homeowners. Epoxy doesn’t just coat your concrete, it upgrades your entire garage experience.
1. Creates a Clean, Modern Aesthetic
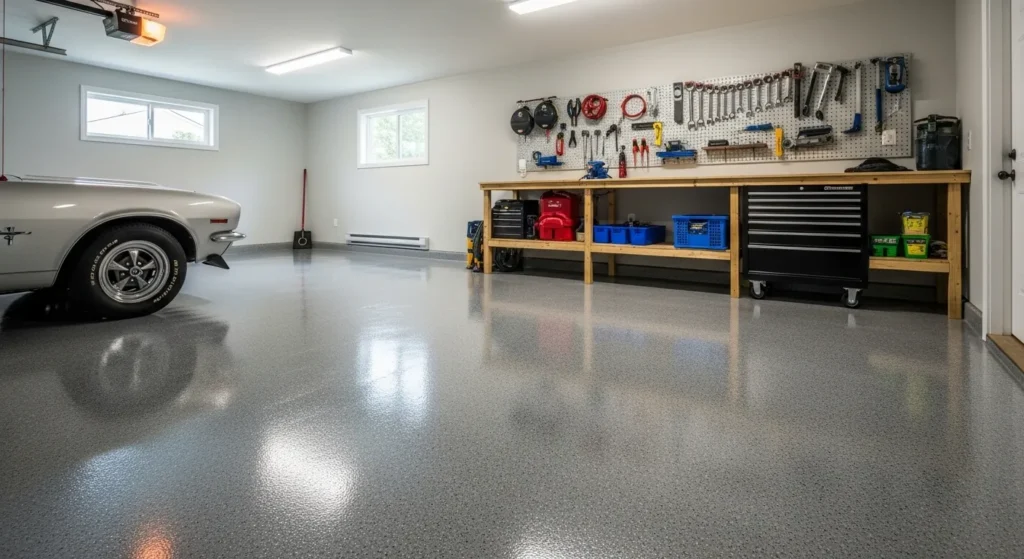
Epoxy flooring instantly elevates even the most outdated garage. The seamless, glossy surface bounces light around the room, making the space look brighter, bigger, and more polished. It’s a foundational design upgrade that pairs beautifully with any garage style industrial, minimalist, or even showroom-level luxury.
2. Incredibly Durable and Long-Lasting
One of the biggest strengths of epoxy flooring is its durability. It resists scratches, chemicals, oil leaks, tire marks, and everyday wear making it perfect for garages that double as workshops, gyms, or storage areas.
For anyone considering how to use epoxy flooring in garage interior design long-term, this durability means your garage stays clean and attractive for years with minimal maintenance.
3. Easy to Clean and Maintain
Dust, dirt, and spills wipe away effortlessly. Unlike bare concrete, epoxy doesn’t absorb oil or stain easily. A broom, mop, or hose is usually all you need to keep the garage spotless.
4. Enhances Lighting and Visibility
Epoxy’s reflective finish improves visibility throughout the garage. This makes it easier to work on projects, locate tools, and maintain a safe workspace.
This is one of the most underrated benefits when planning how to use epoxy flooring in garage interior design effectively.
5. Ideal Foundation for Any Garage Setup
Whether you’re designing a home gym, workshop, hobby room, or storage-focused layout, epoxy flooring provides a strong, clean foundation.
It pairs beautifully with:
- Wall-mounted storage systems
- Workbenches
- Garage cabinetry
- Slatwalls and pegboards
- Tool stations
How to Apply Epoxy Flooring Like a Pro
You don’t need to be a contractor to achieve a professional finish. What you do need is patience, preparation, and precision. Here’s how to get it right from start to finish.
1. Clean and Prepare the Surface
Start by removing everything from the garage and scrubbing the floor to remove dust, grease, or paint. Any residue left behind will prevent the epoxy from adhering properly. A clean surface is non-negotiable.
2. Repair Cracks and Imperfections
Inspect for chips, cracks, or uneven areas. Fill these using a concrete patch compound and allow it to cure completely. A level floor ensures the epoxy spreads evenly and doesn’t pool.
3. Etch the Concrete
Etching opens the concrete’s pores so the epoxy can bond more effectively. You can use an acid-based etch or a safer, non-acid alternative. Once done, rinse thoroughly and let it dry for at least 24 hours.
4. Mix the Epoxy Components
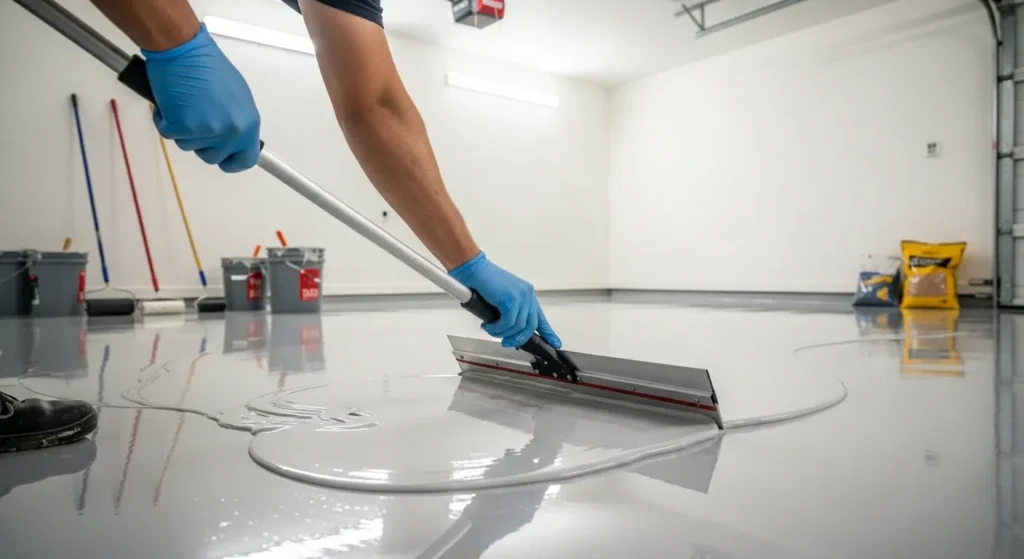
Follow the manufacturer’s ratio precisely when combining the resin and hardener. Stir gently to avoid creating bubbles, and remember, once mixed, you have a limited time to apply it before it begins to harden.
5. Apply the First Coat
Using a roller, apply the epoxy in smooth, overlapping strokes. Work in small sections to maintain control and consistency. Start from the back of the garage and move toward the exit to avoid stepping on wet epoxy.
6. Add Decorative Flakes (Optional)
If you’d like a speckled or textured look, sprinkle vinyl flakes while the coating is still wet. This step adds traction and visual interest.
7. Apply the Second Coat and Seal
Once the first coat has cured (usually overnight), apply a second coat or clear sealer. This enhances depth, gloss, and protection against wear and tear.
Common Pitfalls to Avoid
- Skipping surface prep: Even the best epoxy won’t bond to dirty concrete.
- Applying in high humidity: Moisture can cause bubbling or cloudiness.
- Rushing the curing process: Let each coat dry fully before adding the next.
Remember, epoxy rewards patience. Every hour spent on preparation pays off in years of durability.
Design Ideas to Inspire Your Garage
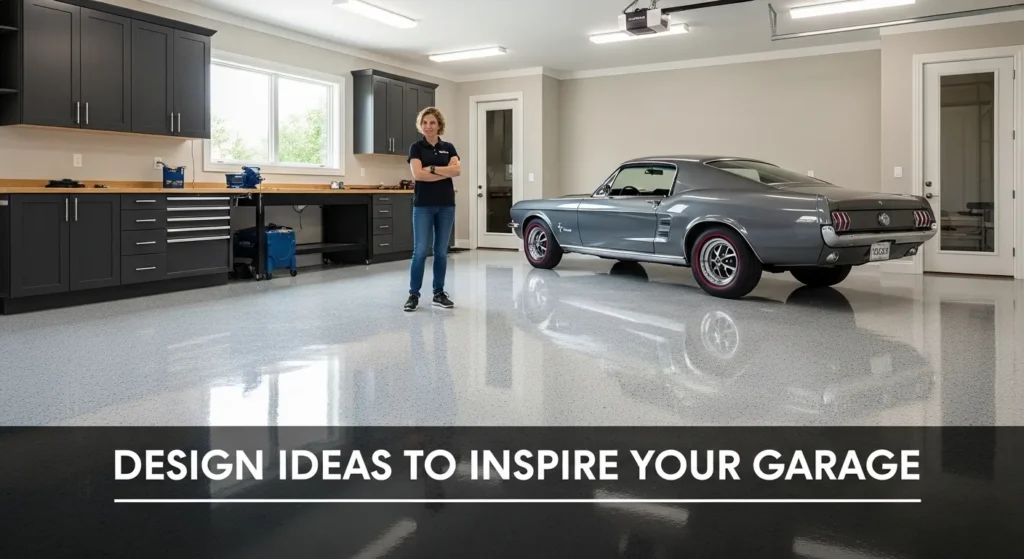
Create Zones for Functionality
Use different epoxy finishes to define areas, like a matte surface for a workshop zone and a glossy one for car storage.
Add Color for Personality
Modern epoxies aren’t limited to gray. Try charcoal with metallic flakes for an industrial feel or pale beige for a softer, warmer tone.
Coordinate with Cabinetry and Lighting
Epoxy floors pair beautifully with sleek metal cabinets and LED strip lighting. The reflective surface enhances brightness and makes the space feel larger.
Go Minimal for a Modern Look
If you prefer simplicity, a solid-color epoxy floor offers a clean, modern foundation that lets your tools and vehicles take the spotlight. For homeowners who appreciate a clean and uncluttered aesthetic, epoxy flooring aligns beautifully with minimalist design principles. Its seamless surface reduces visual noise, allowing the garage to feel open, intentional, and free from distractions.
How Epoxy Flooring Enhances the Feel of a Garage
Beyond the aesthetics, epoxy creates an environment that’s easier to maintain and more pleasant to spend time in. Sweeping becomes effortless, spills wipe away instantly, and the added light reflection makes the space safer and more inviting.
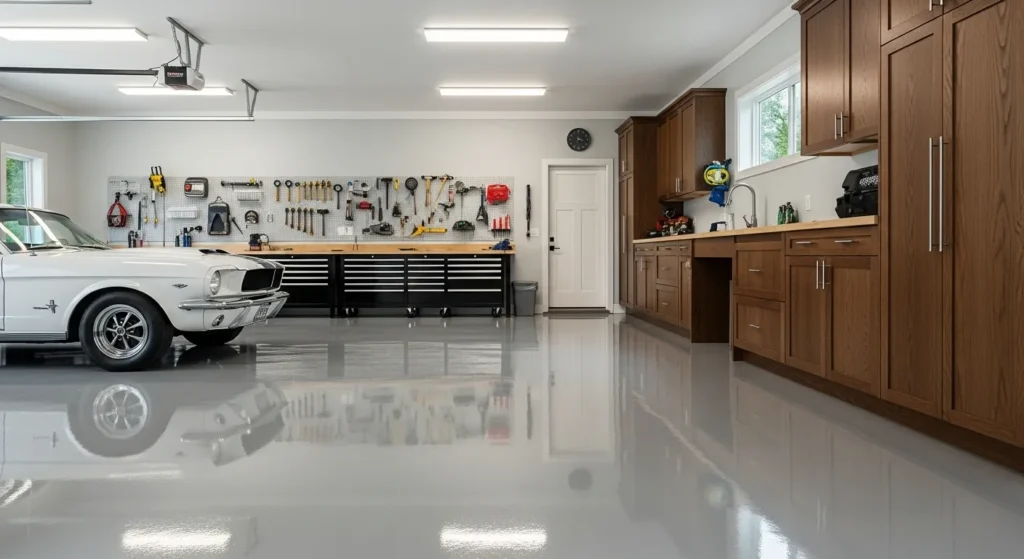
It’s no wonder many homeowners now see their garages as extensions of their living areas. When integrated thoughtfully into the overall garage design interior, epoxy flooring turns practicality into beauty.
A Fresh Perspective for a Forgotten Space
Your garage doesn’t have to be a forgotten catch-all; it can be a bright, functional, and inspiring extension of your home. With epoxy flooring, you’re not just improving appearance; you’re investing in longevity, safety, and ease of maintenance.
Every home deserves a garage that reflects the same care and personality as its living spaces. So, roll up your sleeves, grab that roller, and create a space that truly feels yours.
What would you use your newly finished garage for: a workshop, gym, or showroom-worthy parking space? Share your vision in the comments below!
Frequently Asked Questions
What’s the lifespan of an epoxy garage floor?
With proper prep and maintenance, epoxy floors can last 10 to 15 years or longer before needing re-coating.
Can I install epoxy flooring on old concrete?
Yes, but only after repairing cracks, removing sealers, and ensuring the surface is fully clean and etched.
How long before I can park my car on it?
Wait at least 72 hours after the final coat to allow full curing. Walking on it after 24 hours is fine.
Is epoxy slippery when wet?
High-gloss epoxy can be slick. Add an anti-slip additive or decorative flakes for better traction.