Few upgrades elevate a home like a beautifully tiled floor. But if you’re wondering how to install tile on a wood subfloor, here’s the quick answer: reinforce the subfloor, add a proper underlayment like cement board or an uncoupling membrane, and use a flexible thin-set mortar that absorbs movement. This prevents cracks, stabilizes the tile, and ensures a long-lasting finish.
The charm of tile clean lines, glossy textures, and timeless durability often intimidates homeowners with wood foundations. I’ve seen this concern countless times in my 40 years of design and renovation work. The truth? With the right prep, tools, and patience, you can install tile over wood and make it last for decades. The key lies in understanding how wood moves and tile doesn’t set the right foundation, and the rest falls into place.
Understanding the Foundation
Every flawless tile floor begins with a solid, stable base. When learning how to install tile on a wood subfloor, the most important step is assessing the structure beneath your feet. Wood subfloors must be strong, level, and motion-free before they can support rigid tile.
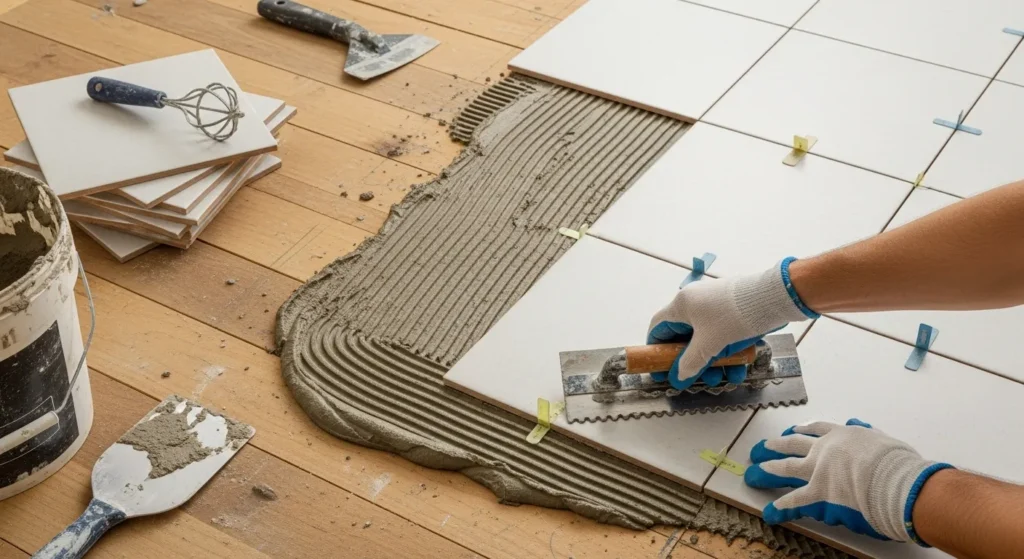
Typical wood subfloors are built from plywood or OSB secured to floor joists. Carefully inspect the surface for squeaks, gaps, or soft spots subtle signs that sections may need reinforcement. Even the slightest flexing can lead to cracks or loose grout lines later, making proper preparation the foundation of a long-lasting tile installation.
Tools & Materials Needed for Installing Tile on a Wood Subfloor
Before you begin learning how to install tile on a wood subfloor, gathering the right tools and materials is essential. The success and longevity of your tile installation depend heavily on proper prep, strong bonding, and products designed to handle the natural movement of wood. Here’s everything you’ll need to get the job done right.
Essential Tools
1. Circular Saw or Jigsaw
For trimming underlayment panels or cutting replacement subfloor pieces if reinforcement is needed.
2. Drill and Screws
Used to secure loose subfloor sections and eliminate movement or squeaks.
3. Notched Trowel
Creates the correct mortar ridges for proper tile adhesion.
4. Tile Cutter or Wet Saw
Allows clean, precise cuts around walls, corners, and fixtures.
5. Level
Ensures your wood subfloor and underlayment are perfectly flat to prevent future tile cracking.
6. Tape Measure & Pencil
For accurate layout planning and tile placement.
7. Rubber Mallet
Helps gently set tiles into mortar without damaging them.
8. Tile Spacers
Keeps grout lines even and consistent across your flooring.
9. Grout Float and Sponge
Required for spreading grout and wiping away excess after installation.
Key Materials
1. Cement Backer Board or Uncoupling Membrane
A must-have when learning how to install tile on a wood subfloor.
- Cement board adds rigidity and water resistance.
- Uncoupling membranes (like Schluter Ditra) absorb wood movement and prevent tile cracks.
2. Thin-Set Mortar (Polymer-Modified)
Flexible mortar is crucial for bonding to substrates that experience natural expansion and contraction.
3. Backer Board Screws
Designed to secure cement board without damaging it.
4. Seam Tape (Alkali-Resistant)
Used on cement board seams to prevent cracking and improve stability.
5. Grout (Sanded or Unsanded)
Choose based on your tile joint size.
- Sanded grout: joints ≥ 1/8 inch.
- Unsanded grout: joints < 1/8 inch.
6. Waterproofing Membrane (Optional but Recommended)
Especially in bathrooms, kitchens, or laundry rooms.
This adds moisture protection between the wood subfloor and tile system.
7. Primer (For Uncoupling Membrane Installs)
Some membranes require a primer coat for proper bonding.
8. Tiles of Your Choice
Porcelain, ceramic, natural stone, select durable tiles rated for floor use.
How to Prepare the Subfloor Before Installing Tile on a Wood Foundation
Proper preparation is the most important step when learning how to install tile on a wood subfloor. Tile is rigid, while wood naturally expands and contracts so creating a strong, stable, and level foundation prevents cracks, loose grout, and premature floor failure. Follow these essential prep steps to ensure long-lasting results.
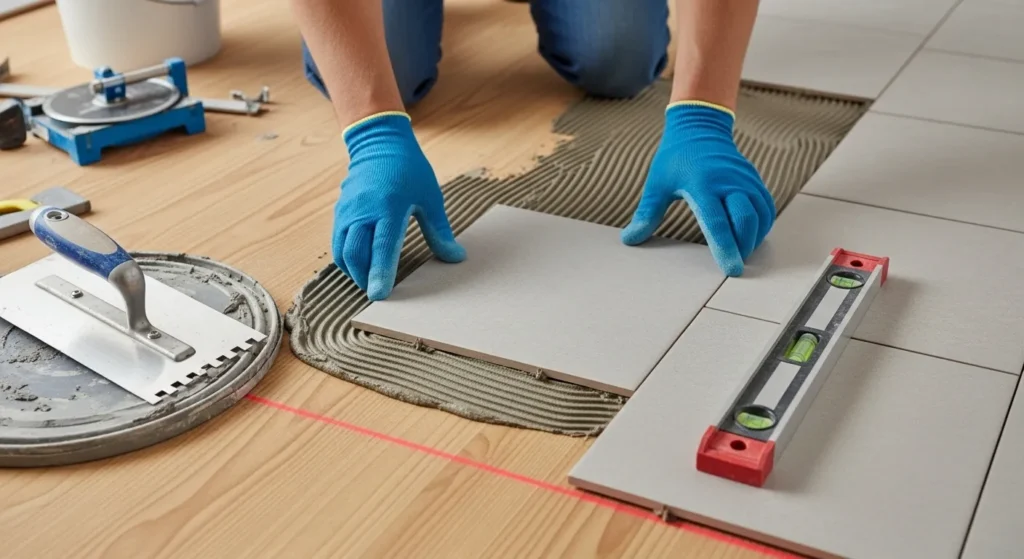
Step 1: Check for Stability
Walk across the subfloor and listen for squeaks or feel for soft spots. Any movement in a wood subfloor will eventually transfer to the tile and cause cracking. Reinforce weak areas by driving screws into the joists below.
Your subfloor should feel tight, secure, and completely stable before proceeding to any tile work.
Step 2: Level the Surface
An uneven floor is one of the biggest reasons tile installations fail. Use a long level to identify dips, humps, or uneven sections.
- Fill low areas with self-leveling compound.
- Sand down raised spots until smooth.
A perfectly level surface ensures proper mortar bonding and protects your tile from shifting or cracking over time.
Step 3: Install Cement Backer Board
This step is non-negotiable when determining how to install tile on a wood subfloor. Wood alone cannot support tile because it moves with humidity and temperature changes.
- Spread a layer of thin-set mortar over the wood subfloor.
- Place cement backer board panels on top.
- Screw them down every 6–8 inches for rigid support.
Cement board absorbs movement, improves durability, and provides a tile-friendly surface that won’t flex or warp.
Step 4: Tape and Seal the Seams
Use alkali-resistant fiberglass mesh tape to cover each joint between the backer boards.
Apply a thin layer of thin-set mortar over the seams and smooth it out.
This prevents cracks from traveling through the boards and damaging your tile later—a crucial part of any professional tile installation.
Step 5: Let It Set
Allow the mortar and backer board to cure for at least 24 hours.
Do not walk on or disturb the surface while it sets. A fully cured underlayment creates the strong, stable foundation your tile needs for decades of performance.
Planning Your Layout
A little planning before you start tiling makes all the difference in how polished your floor will look. Begin by finding the center of the room with a tape measure and snap two chalk lines that intersect at a perfect right angle. These lines act as your layout guide, ensuring tiles align evenly across the space.
Next, do a dry layout by placing tiles along both lines without mortar. This helps you see how cuts will fall and whether adjustments are needed. Aim for balance by avoiding thin tile slivers near walls, and start tiling from the center outward for a professional finish.
If you want to add personality and artistry to your project, consider incorporating custom mosaic tiles into your layout. These unique pieces can be used as borders, accents, or focal points, turning a standard installation into a one-of-a-kind design statement.
Installing the Tiles
Once your plan is set, the fun part begins, watching your new floor take shape.
1. Apply Thin-Set Mortar
Using your notched trowel, spread thin-set over a small section of the floor. Hold the trowel at a 45-degree angle to create ridges that help tiles bond evenly.
2. Set the Tiles
Press each tile gently into place, twisting slightly to ensure full contact with the mortar. Insert spacers between tiles to maintain consistent grout lines.
3. Cut Tiles as Needed
When you reach walls or corners, measure precisely and use a wet saw for clean cuts. Always wear safety glasses during this step.
4. Allow to Cure
After all tiles are placed, avoid walking on them for at least 24 hours. Letting them settle ensures strong adhesion.
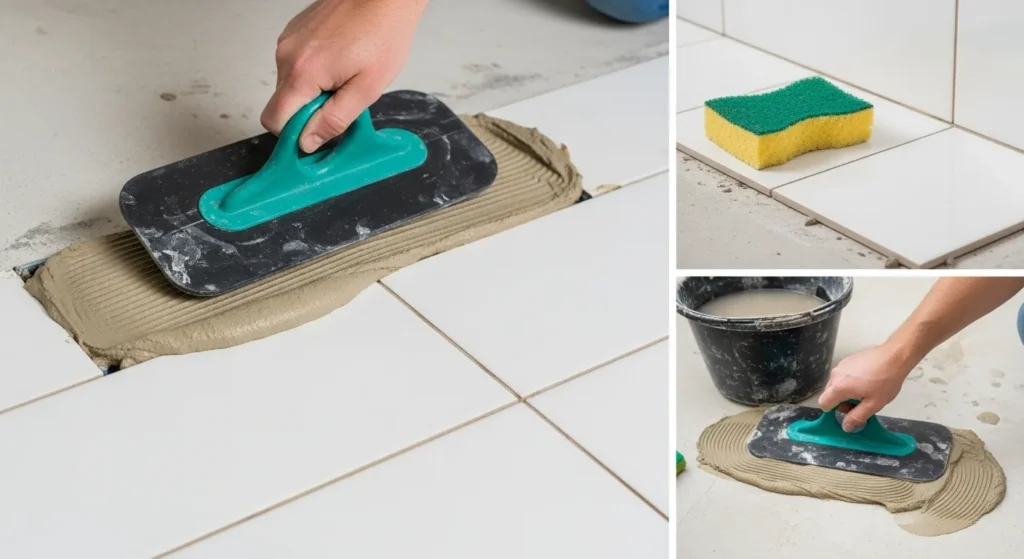
5. Apply Grout
Remove spacers, then spread grout with a rubber float at a 45-degree angle. Wipe excess with a damp sponge, rinsing often for a smooth finish.
Maintenance and Longevity
A well-installed tile floor can last 50 years or more. Keep it that way with a few habits:
Wipe spills promptly, especially on grout lines, to prevent staining. Avoid harsh cleaners that erode sealants. Reseal grout every few years to maintain protection. If you notice any tile movement, investigate immediately; early repair saves future headaches.
Transform Your Space with Confidence
When properly prepared, a wood subfloor can support a stunning, long-lasting tile floor that elevates your entire home. The secret lies in careful preparation, steady patience, and respect for materials. Every step, from leveling to sealing, plays a part in creating a surface that feels as solid as it looks.
Take your time, trust the process, and you’ll have a floor that reflects both beauty and craftsmanship. Are you planning to start your next flooring project soon? Share your design vision in the comments below. I’d love to hear how you’re transforming your space.
Frequently Asked Questions
Can I install tile directly on plywood?
It’s not recommended. Plywood expands with moisture, which can cause tiles to crack. Always use a cement backer board as a barrier.
How thick should the subfloor be before tiling?
At least 1 ⅛ inches thick, combining subfloor and underlayment layers. Thicker floors resist movement better.
Do I need an expansion gap around the walls?
Yes. Leave about ¼ inch between the tiles and the wall to allow for natural movement. You can cover it later with baseboards or trim.
What is the best grout for floors?
Epoxy grout resists stains and moisture better than cement-based types, making it ideal for kitchens and bathrooms.